Change settings
Settings are a short list of named values that change how Tallybox behaves. Only a Super Admin can see or change them.
Who can do thisSuper Admin
A setting is one named value, such as how many seconds pass between dashboard refreshes or the fee added to a vote bundle. The system sets them up for you. Day to day you rarely touch them, and you should change one only when you know what it does.
Read the settings
- Choose Settings in the Administration menu
- Read the Key, Type and Value columnsThe key is the setting's name. The type says what kind of value it holds, for example a whole number, a decimal number, a choice from a list, text, a yes or no switch, or an image.
- Search by key, or filter by Type
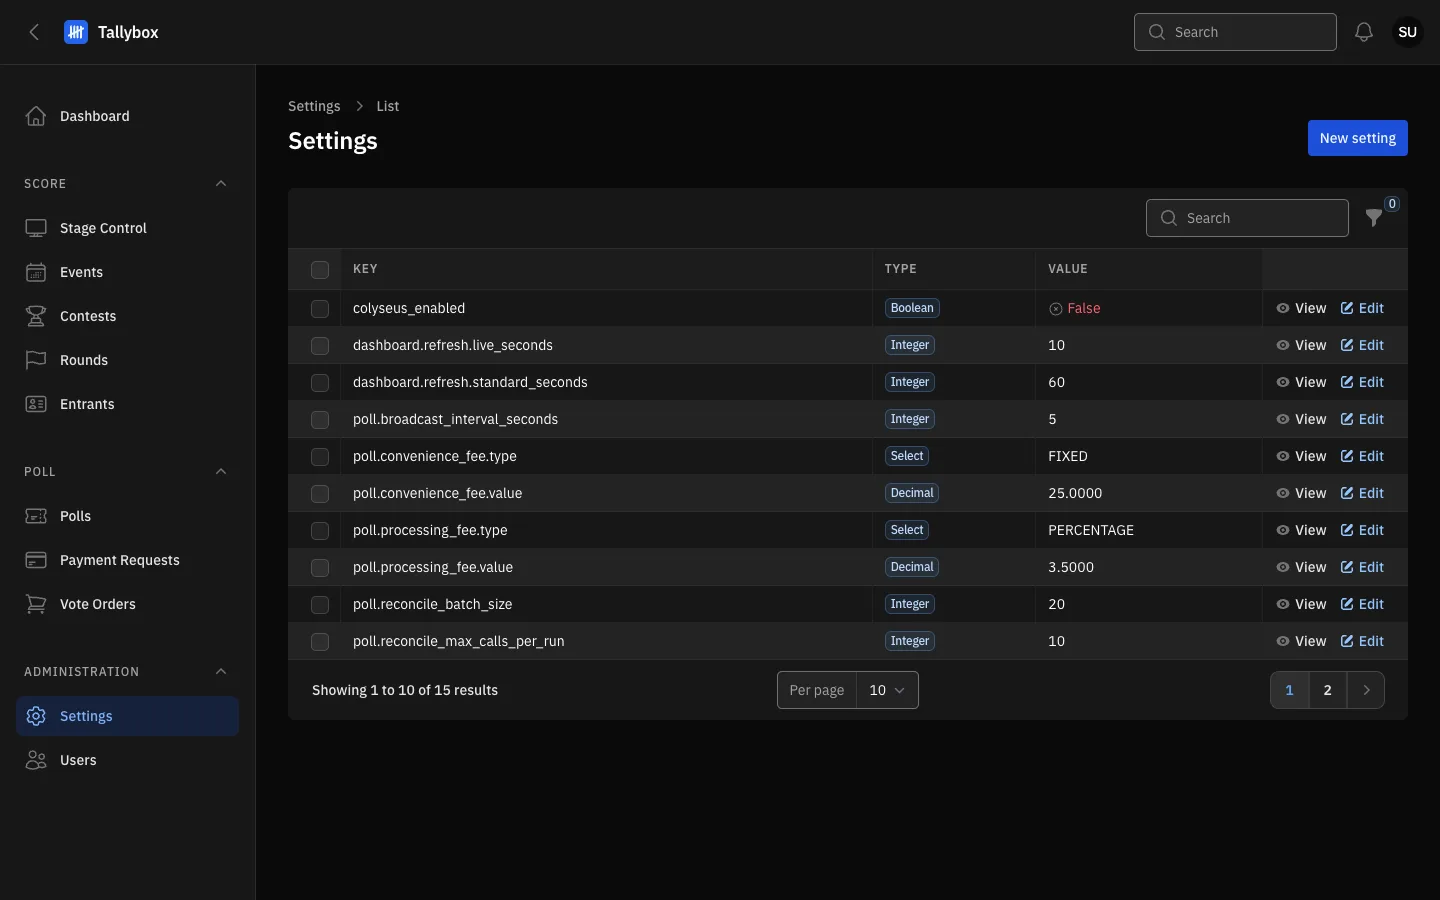
- New setting: adds a setting. You will rarely need it.
- Search: finds a setting by its key.
- Type: what kind of value it holds.
- Value: what it is set to now.
- View: read one setting on its own page.
- Edit: change the value.
Change a value
- Choose Edit on the setting
- Change the ValueThe field matches the type: a switch, a number, a list or text. A helper line under the field says what values are allowed.
- Choose Save changes
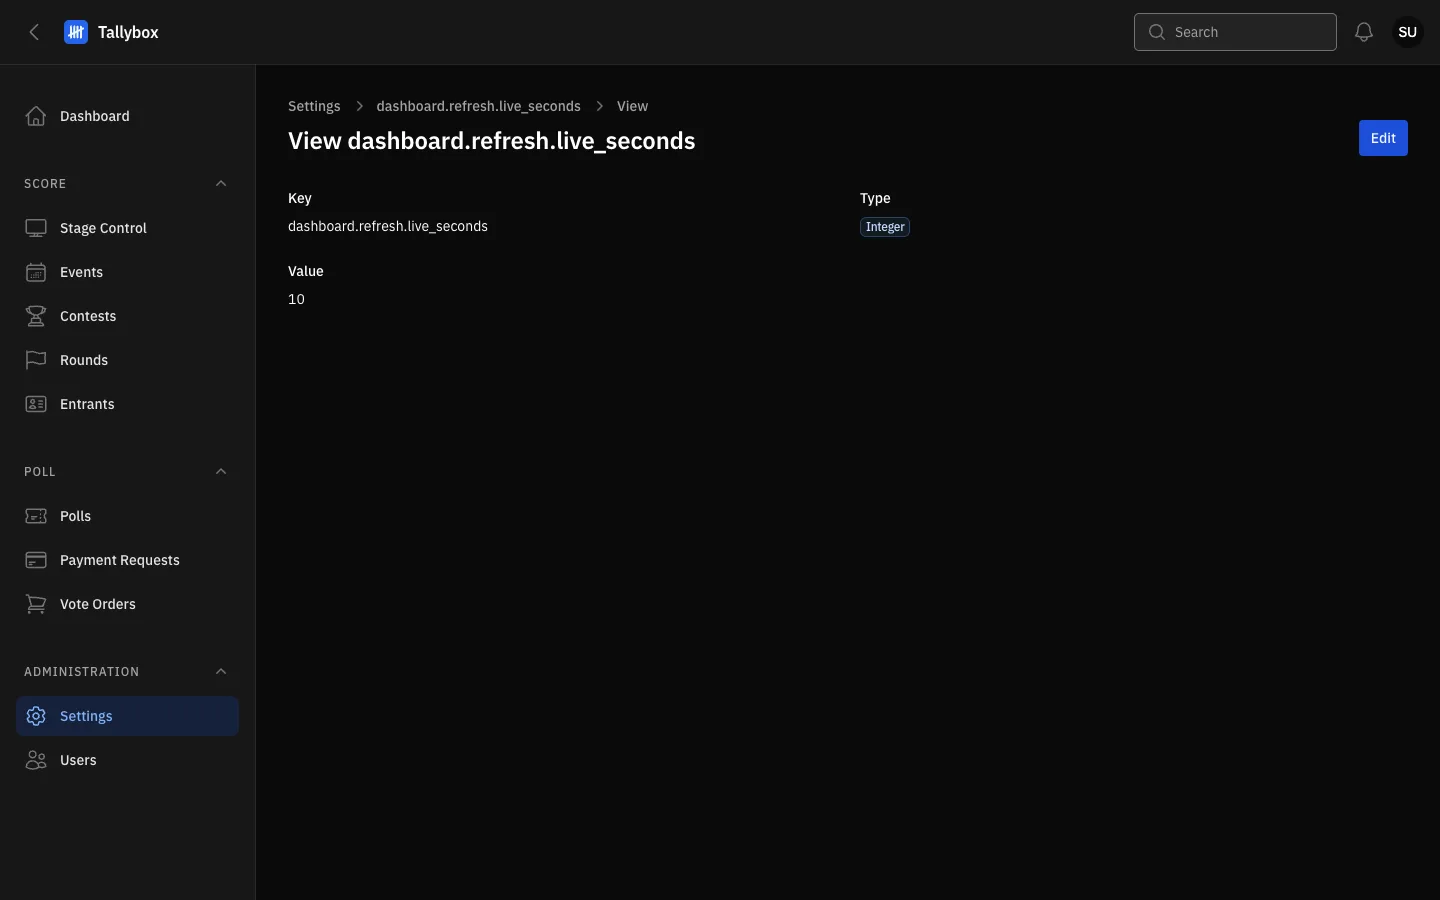
- Key: the setting's name. It cannot be changed after the setting is created.
- Type: the kind of value.
- Value: the current value.
- Edit: opens the form to change the value.
Two settings you may meet often set how many seconds pass between dashboard refreshes while Auto-refresh is on, one for live use and one for everyday use. Each accepts 5 to 300. You can also change them from the Dashboard's Refresh intervals button. See Read the dashboard. The poll fee settings set the extra charges added to votes and are explained where polls are set up.
Add a setting
- On the Settings page, choose New setting
- Type the Key, then choose the TypeThe field under it changes to match the type. The key cannot be changed once it is created.
- Fill in the Value and choose CreateChoose Create & create another to add a second one straight away.
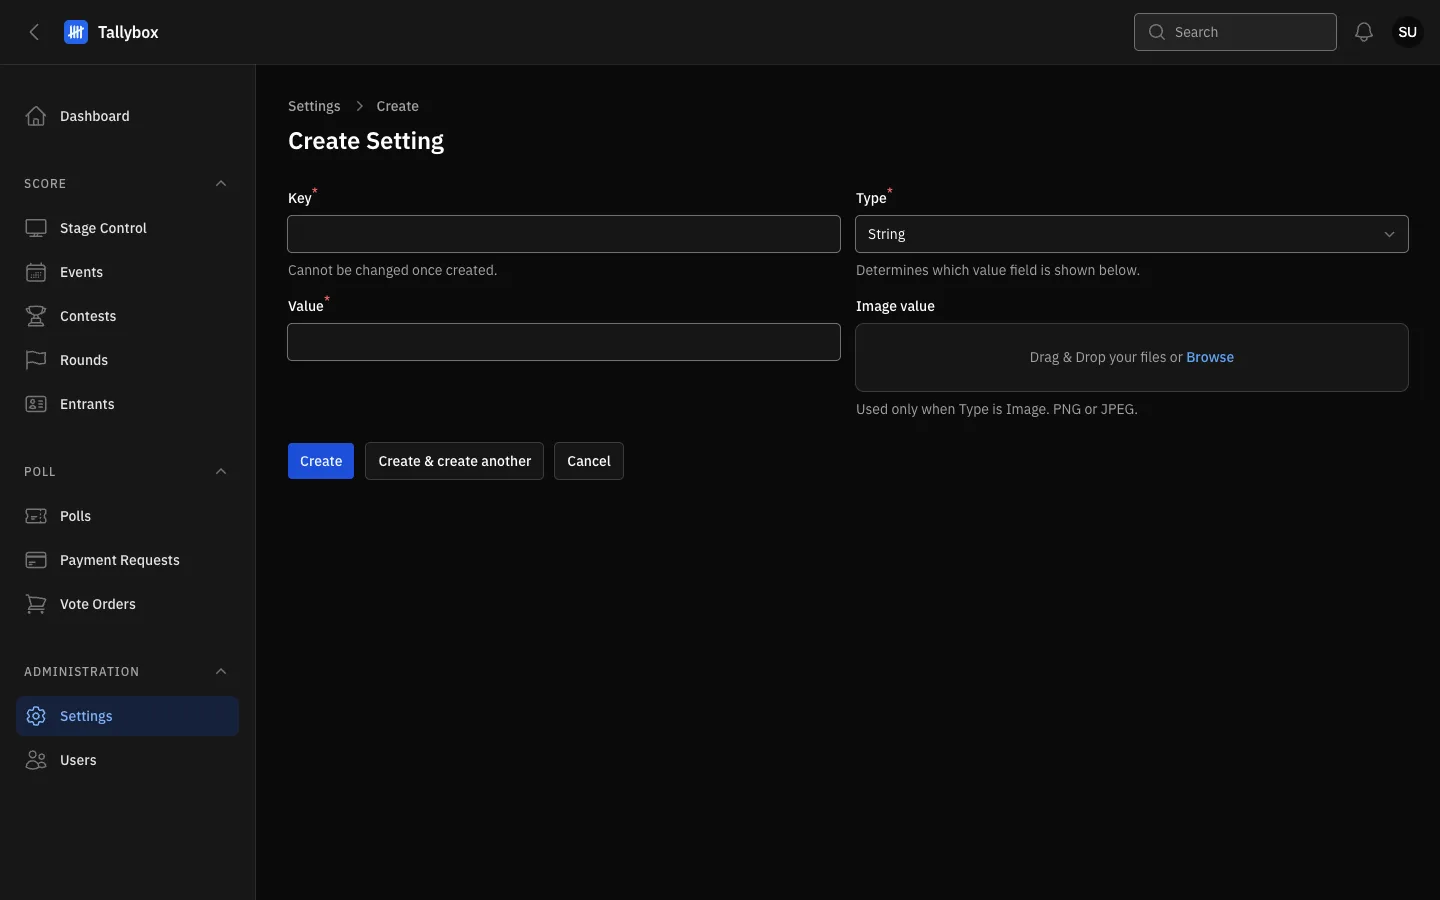
- Key: the name the system looks for. A new key does nothing unless the system already uses it.
- Type: choose what kind of value this is.
- Value: required for most types.
- Image value: used only when the type is Image. Ignore it otherwise.
- Create: saves the setting.
Remove settings
On the Edit page, choose Delete at the top. To remove several, tick them on the list, choose Bulk actions, then Delete selected, and confirm. Removing a setting the system relies on can switch a feature off or change its behaviour, so only remove one you added yourself.